
The back bedroom has always been the children’s room. When our building got its certificate of occupancy and we were cleared to move in, Camelia was a toddler. I’d just learned how to do stucco veneziano (venetian plaster) and the room was one of my first projects in the apartment. The first color for Camelia’s brand new bedroom was a beautiful peachy pink, very soft and not all at sugary. A perfect color for a little girl. The walls gave off a rosy light at night. In the morning, the room glowed golden from the sunlight coming in from the eastern facing window.
When we were homesteading our building in the 1980’s, there was a lot of drug dealing in the neighborhood (see my Pigeon Wars post for the backstory). Junkies broke into the squatter’s buildings and stole tools and pipes and anything that they could rip out to sell. It was near impossible to completely fortify the entire building against theft, there were too many spots where crumbling brick or boards could be pried loose. All you could do was to make it harder for them. During that time, the back bedroom became our tool room. We framed it out and created temporary walls of double thick plywood. The door was locked with a fat metal chain. That was the secure room, the place where we kept anything the junkies might want to walk off with.

Homesteader Jay Goodson at the tool room which became our back bedroom
The room grew up with the girls. After the babyish pink came a sophisticated light royal blue when the girls were in elementary school. Then came a rich green right before Camelia left for college. Now, at the time of Oona’s going to college, I decided to re-do the stucco in a pale greyish lavender. Oona said “Mom, you always want to re-do the room when we are leaving for college”. Maybe it is my way of trying to entice them to stay home.

Oona applying stucco veneziano
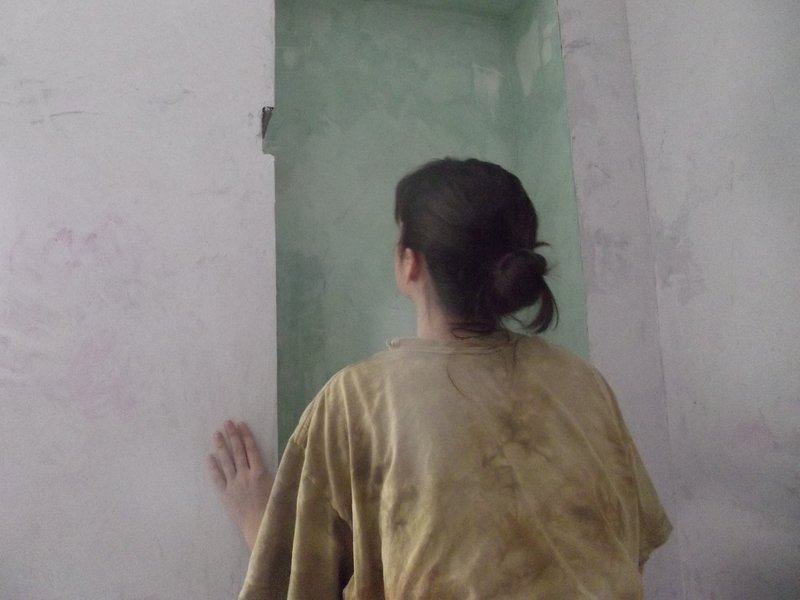
The old green being covered

This is a work-in-progress, stay tuned for updates.


